|
|
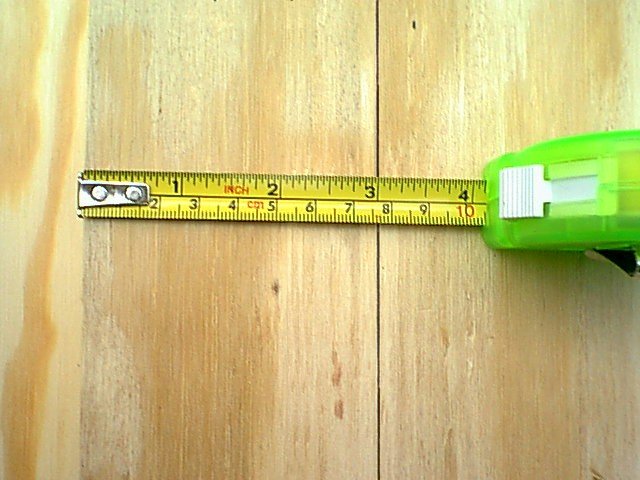
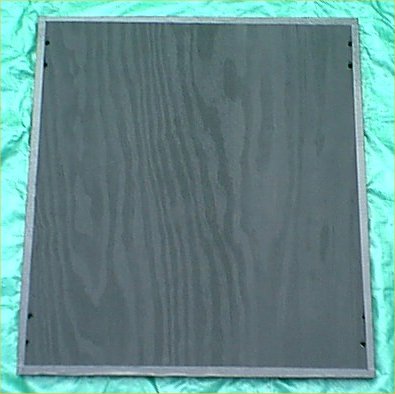
First thing to do is to measure and mark each sheet of plywood. You will be cutting off
exactly 3" from one side (try to cut WITH the grain). Once cut, use the medium grit sandpaper to remove
most of the rough edges and splinters.
|
|
|
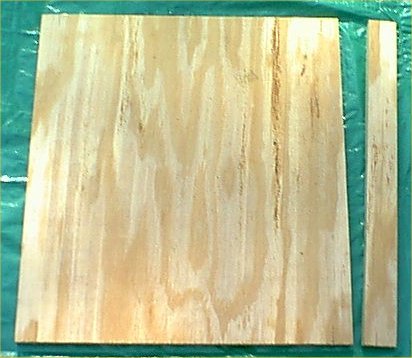
Here you see one of the plywood shelves with the edge cut off.
|
|
|
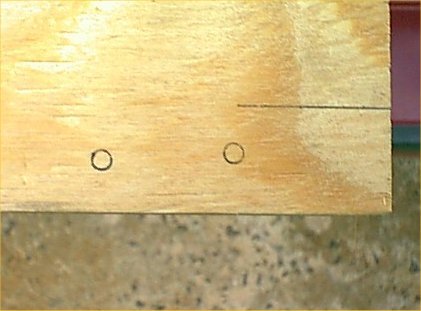
Now, take one of the "L" brackets, and place it on the corner of the shelf, and mark where
you will need to drill the holes. You will need to do this to each corner of each shelf.
Make sure when you mark this, the bend in the "L" is past the edge of the plywood (to the right,
in this photo example). To measure this correctly, you will need to place one of the rack
legs against the edge of the shelf, and make sure the vertical part of the L-bracket is in
the recessed part of the leg (see 2nd to last photo below if you are confused).
|
|
|
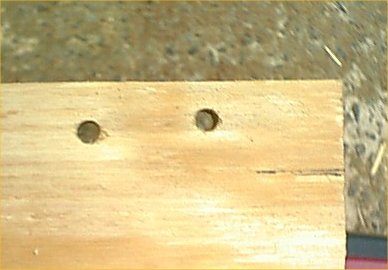
Drill the holes as shown here. Do this on every corner, of every shelf.
|
|
|
Setup one shelf on something you don't mind getting paint on. I used an old wooden shipping
crate. Use one of the edges you cut off in step 1 to prop up the shelf.
|
|
|
Now, using the black spray paint, coat each side of every shelf evenly. I suggest 2 or 3 full
coats, to ensure they will never scratch, and that they will protect the wood.
|
|
|
Next, use the black duct tape to edge all 4 sides of each shelf. This protects YOU from
getting splinters, and gives the shelf a much more professional look. Feel free to use a
different colour if you want to look funky.
|
|
|
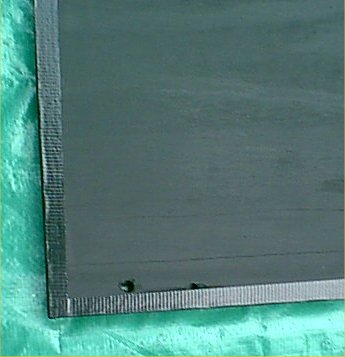
Closeup of one corner after placing the duct tape on the edges. Make sure to cut the duct
tape where it covers the holes previously drilled.
|
|
|
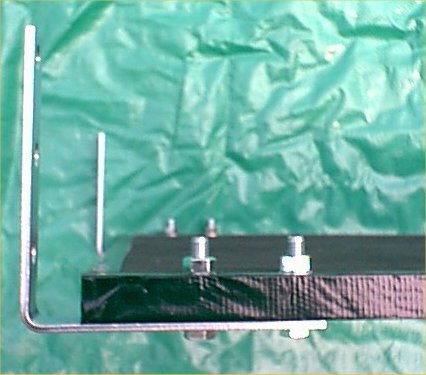
Now we attach the L-brackets. They will be placed in such a way that the horizontal part goes
on the bottom of the shelf, and the vertical part points up. This way, when the shelf is attached
to the rack legs, all the weight will rest on the L-brackets, and not just on the bolts holding them
on. Notice that the L-bracket is not flush with the edge of the shelf. This is because the vertical
part of the L-bracket goes on the *inside* of the shelf leg.
|
|
|
Finally, we attach each shelf to the rack legs. Make sure the vertical part of the L-bracket
is place in the recessed part of the rack leg. Feel free to place the shelves at whatever height
is comfortable to you, but be aware they only attach where there are the 5/16" holes. I placed
the top one all the way at the top, the bottom one about a foot off the floor (in case I ever
got the full sized rack mount UPS's), and the middle one a little above waist level, as you can
see in the photo. Attach the keyboard shelf hangers and shelf at a comfortable height for you.
|