|
|
The finished rack, before any equipment is placed in it. The rack stands about 6.5' tall.
|
|
|
Photo of the rack after I first placed equipment in it.
|
|
|
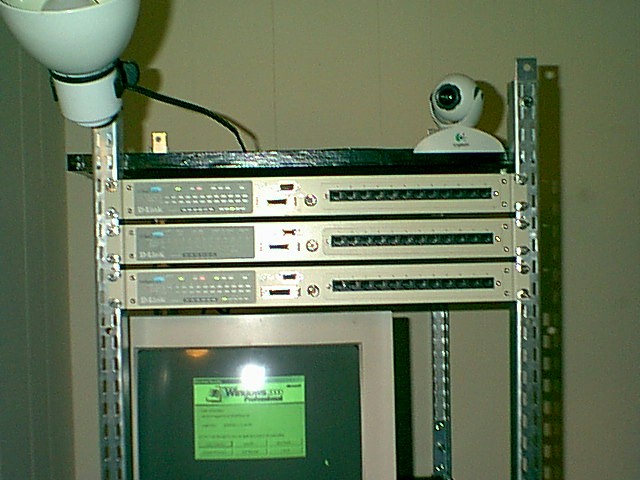
Closeup of the D-Link hubs that I placed in the rack, before I ran the wiring.
|
|
|
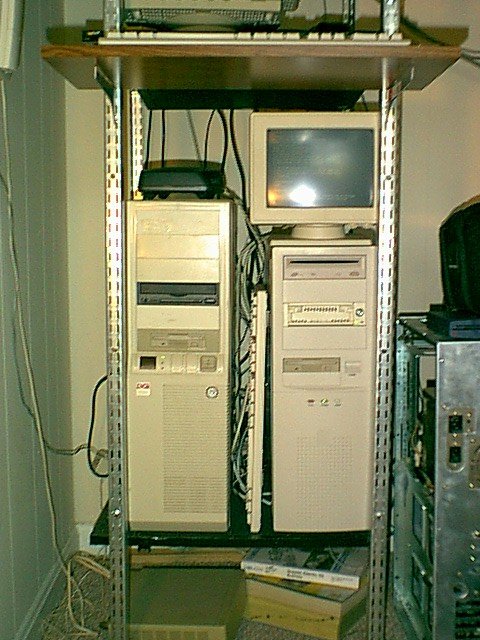
Closeup of the lower shelf after adding in my Free-BSD gateway (on left) and the new Win2000
Server on the right. The small b&w monitor sitting on the Win2000 box goes to the Free-BSD
gateway. The Alcatel 1000 ADSL modem is the small black item on top of the Free-BSD box.
|
|
|
Full shot of the rack with all the equipment in it. Behind the keyboard is my APC Rack-Mount
UPS 400. The wiring for the D-Link hubs has been run. On the top right is my webcam.
|
|
|
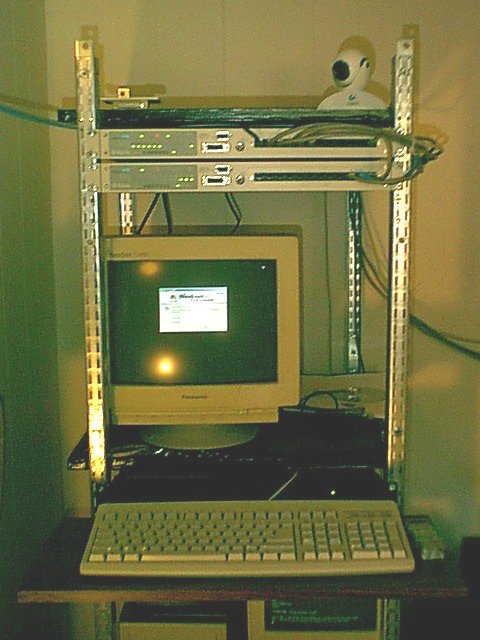
Closeup of the middle shelf, keyboard shelf, and D-Link hubs, with wiring in place.
|
|
|
Another full shot of the entire finished rack, with all equipment in place. Much better
lighting on this photo.
|
|
|
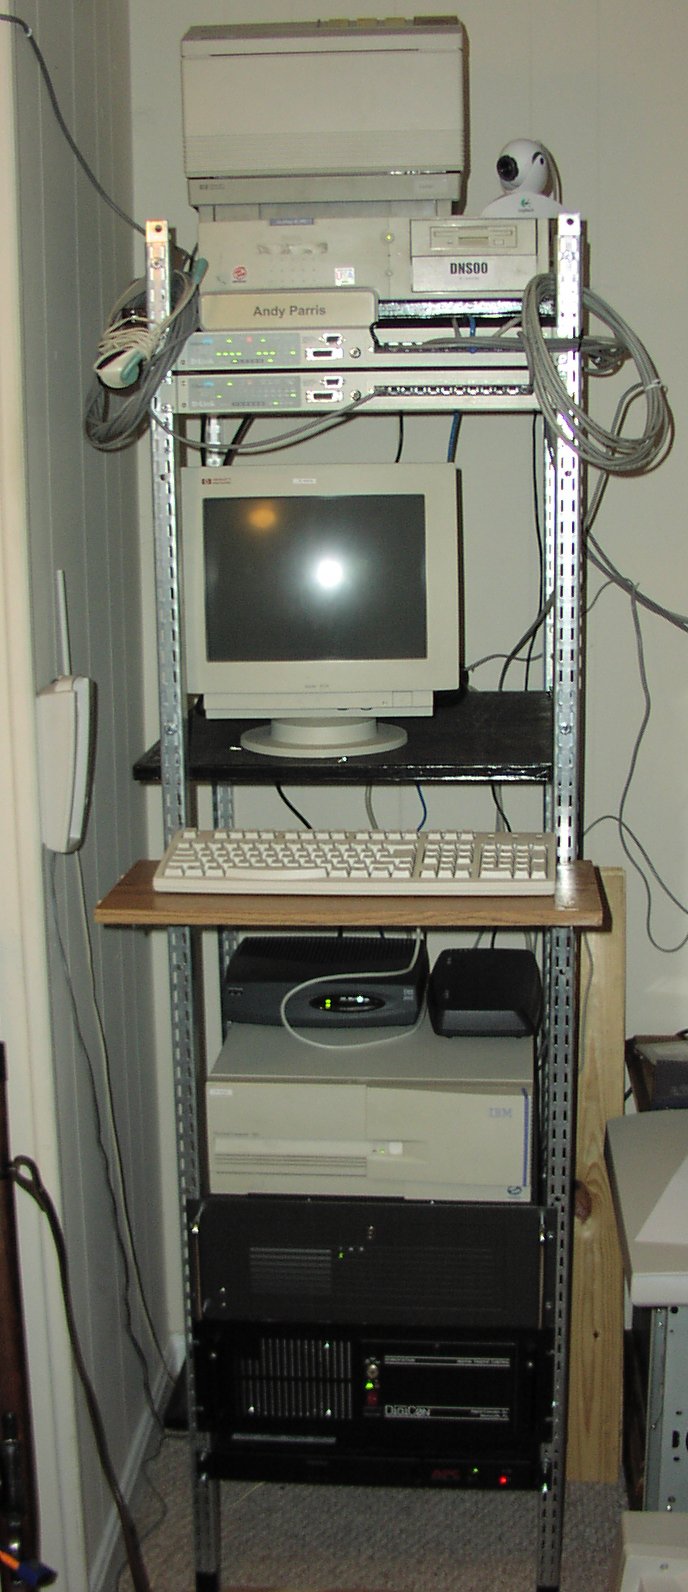
Latest photo I have of my computer rack, taken with my new Olympus Digital camera. Computers have been upgraded and placed
in rack mount cases, taking up far less space.
|